

How To Set Up A Boost Gauge
My proficient old 80 Series LandCruiser had gone through a major refurbishment over the course of 12 months. This included a full engine rebuild, turbo and injector pump rebuild, and even the gearbox and transfer example got a await at.
Now, with a few g kilometres under its belt, the engine is running groovy and I'm happy with how everything turned out. Merely, of course, there are more things to be washed, then in this upshot I'm installing an exhaust temperature gauge, also known as a pyrometer, as well as a heave gauge and an adjustable heave controller.
Boost CONTROLLER
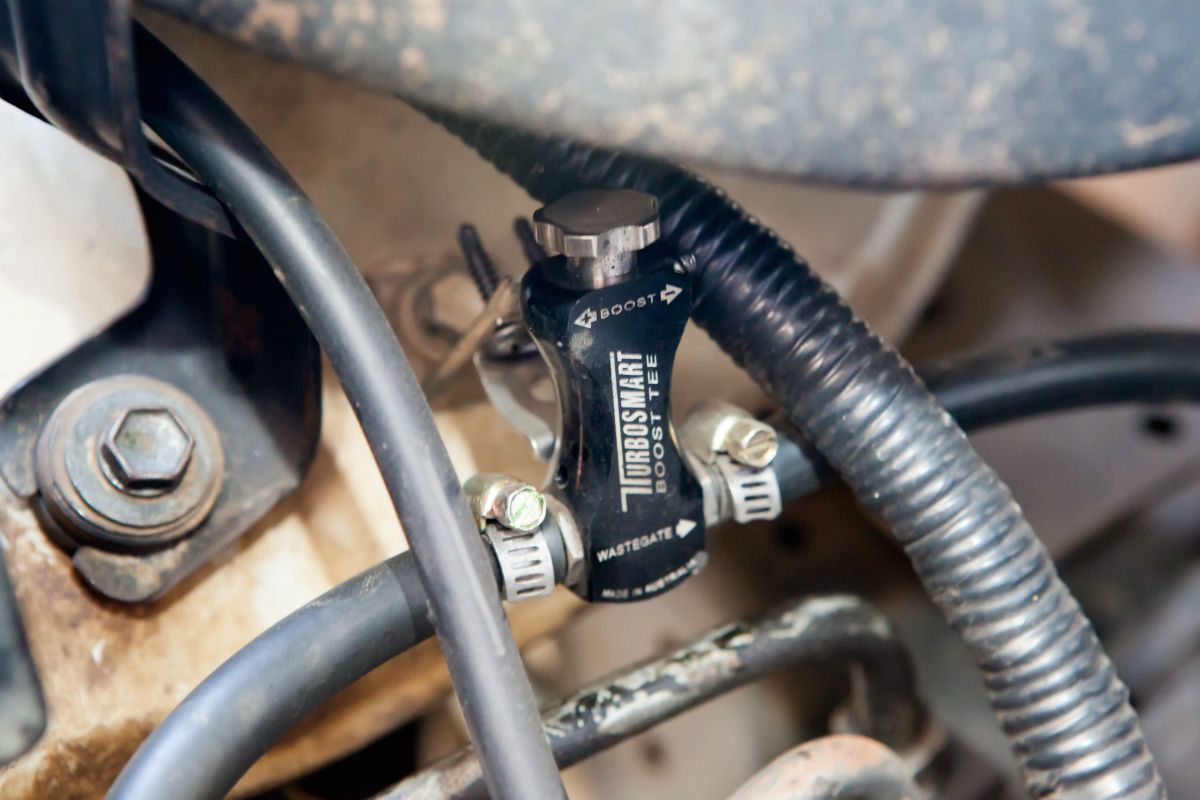
A boost controller is used to adjust the amount of boost a turbocharger can produce. The wastegate on a turbo is controlled by a diaphragm; at a pre-set up boost pressure this diaphragm will open the wastegate, thereby stopping the boost pressure from rising whatsoever college.
The boost controller is continued inline via a vacuum hose betwixt the wastegate diaphragm and the boost side of the turbo, and basically tricks the wastegate into opening at a higher pressure level, assuasive more than heave to exist produced. It tin can be fine-tuned to give exactly the desired amount.
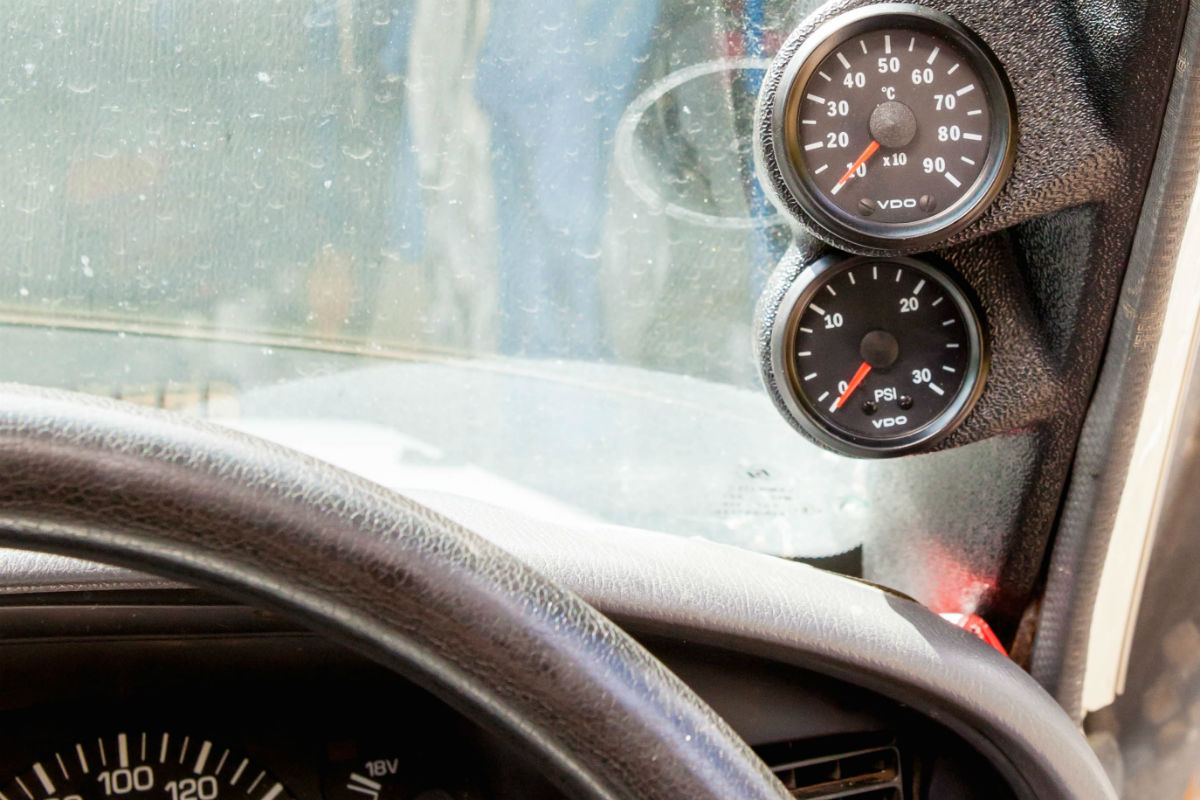
BOOST Estimate
A boost gauge displays the turbo's boost pressure then y'all can check whether the turbo is working correctly. For case, if the judge shows the turbo isn't boosting every bit it should, this could indicate a possible boost leak. Some other possible consequence is overboost, which, if left unchecked, could consequence in major engine impairment.
PYROMETER
A pyrometer is made up of a temperature probe that is installed into the turbo dump pipe and a gauge that displays the temperature.
When it comes to turbocharged engines, exhaust temperature is very important; too loftier a temperature risks damaging the engine and it can be very piece of cake to reach these temperatures under extreme load, particularly with a modified engine.
For case, in a stock 1HZ engine, which is a pop selection for aftermarket turbo upgrades, temperatures of 650 degrees or higher can showtime burning holes through pistons, and those temperatures can exist easily reached with 14psi or more of heave. This is more important for aftermarket turbo systems, but in any case it'due south helpful to know what your frazzle temp is.
INSTALLATION
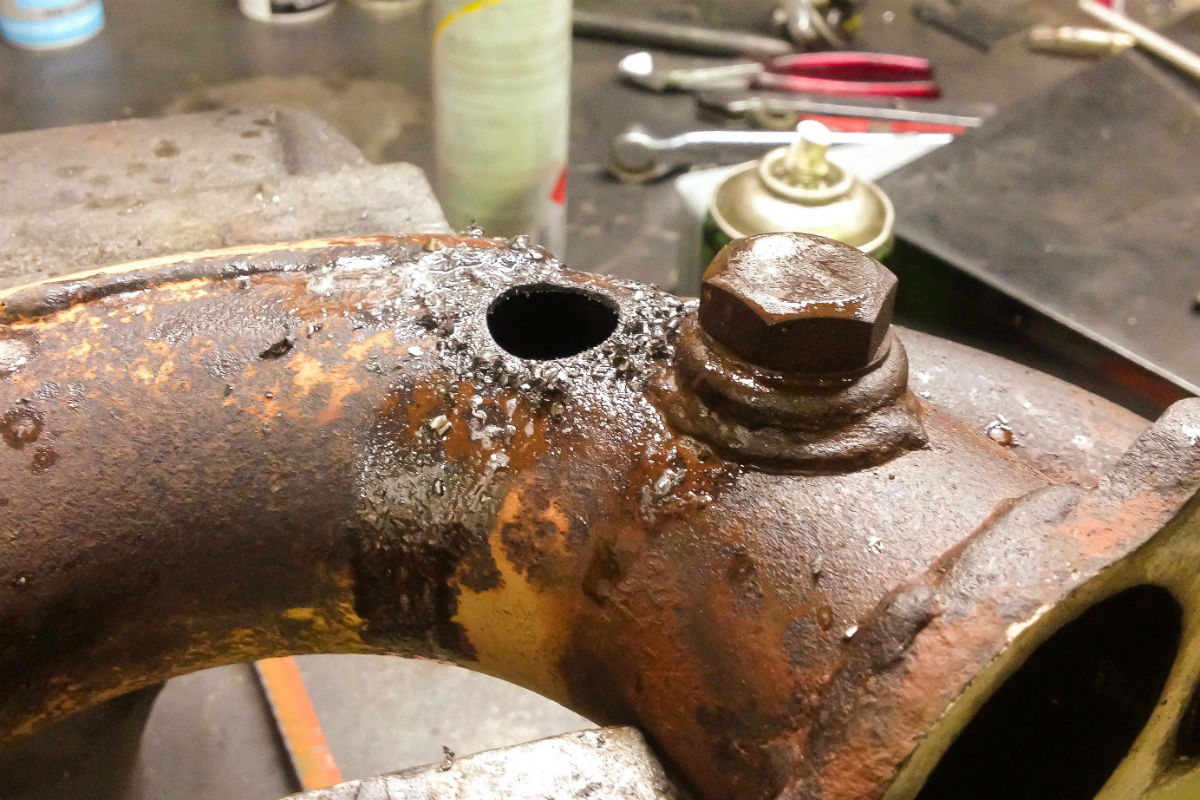
First off, I've removed the turbo dump pipe from the vehicle so I can weld the threaded bung for the pyrometer sensor into identify. Some aftermarket exhaust systems volition already have a thread to allow the sensor to be screwed straight in, but because the one on mine is too large, I have to weld the one that came with the pyro kit into the dump piping. A pigsty is drilled and the surface area around information technology is cleaned up with a file or sandpaper to ensure the weld sticks properly. The pigsty is just big plenty so the threaded bung fits in nice and snug. And then a MIG welder is used to weld it into place.
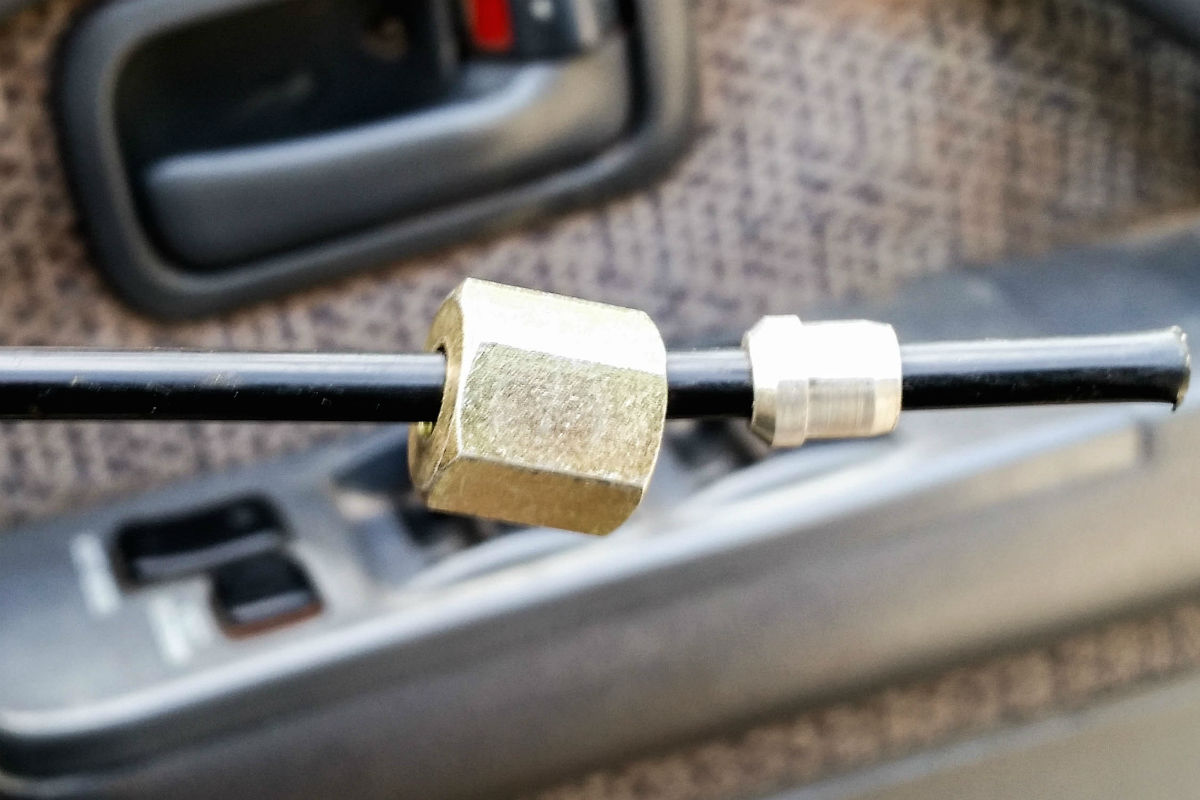
For the heave gauge, a threaded hole needs to be made for the brass plumbing equipment that connects the plastic tube from the gauge to the boost-pressure level side of the turbo. A hole is drilled and then a thread tap is used to create a thread in the crossover duct, which is where the boost pressure volition be measured.
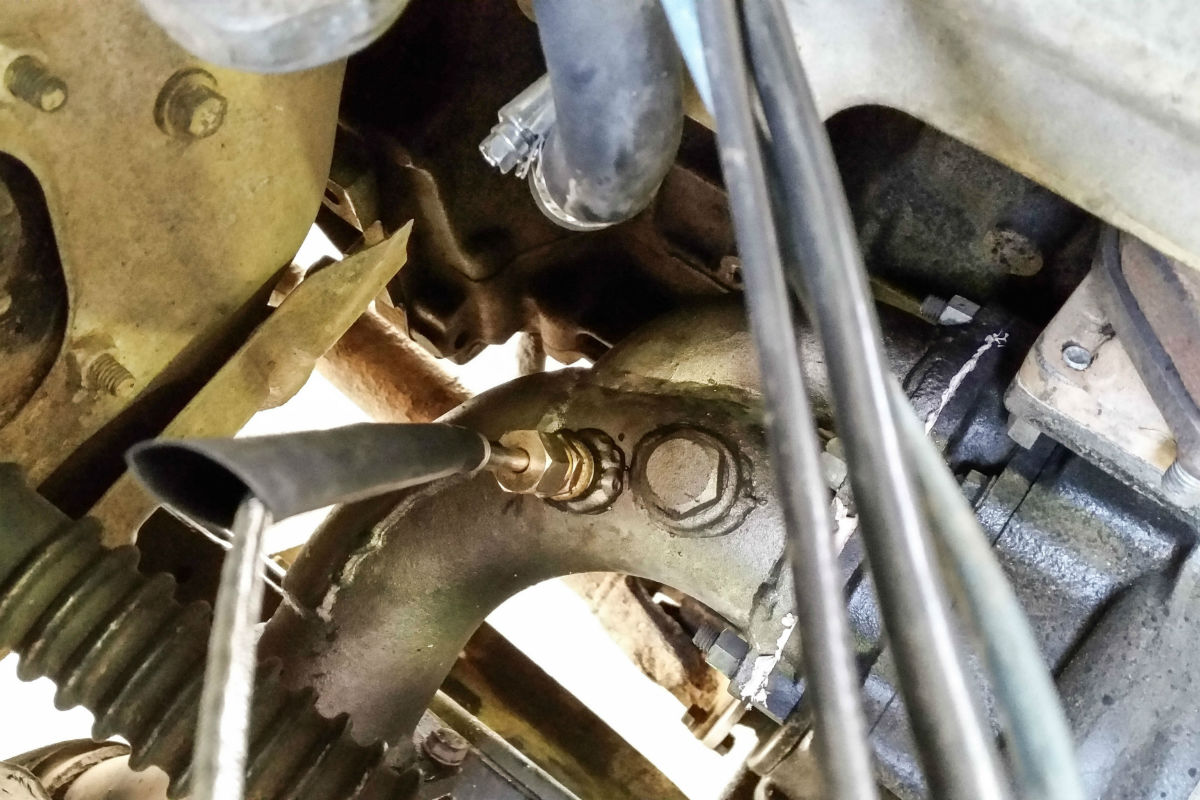
Once the dump pipe is re-installed, the pyro sensor is fitted to information technology and, along with the tube for the boost gauge, the pyro sensor wiring is see the motel through a prophylactic grommet in the firewall. The boost gauge doesn't need any power to work, but the pyro requires an ignition power source. There is besides the option to illuminate the gauges so they can be seen at dark; this is done past tapping into the parker low-cal circuit to power the globes in the gauges.
The gauges will be mounted in what's called a pillar pod. This is made out of plastic and is designed to fit an 80 Series on the driver's-side A-colonnade, although, in my case, at that place was a little bit of work to make information technology fit properly. Once the gauges are mounted, the wiring and the plastic tube are connected to the gauges. Making room for all the wires behind the colonnade pod is a bit difficult but, once in place, the pillar pod is secured via two threaded holes in the A-pillar and the chore is done. Now all that'due south left is to run into if they work.
MONITORING THE SITUATION
Yous might be wondering why these gauges are needed, seeing every bit a manufactory turbo diesel 4WD comes with neither a boost gauge nor a pyrometer. The reason these gauges aren't manufactory-fitted is that the turbo and engine have been fix to work perfectly together; at that place is no way that the parameters can exist inverse or exceeded unless the turbo is modified in some way or there is an increase in fuel. But, if an aftermarket turbo system has been fitted, or even if there'southward an increase in turbo heave force per unit area, it is of import to be able to continue an eye on things, as the engine will now be going across its normal operating range.
If your 4WD is a bit hotter than standard or you lot take an aftermarket turbo system fitted, these gauges will be a peachy improver. About aftermarket exhaust systems will already take a threaded hole for the pyro sensor, and some turbo systems volition have a position for a boost choice-upwards to make installation easy. If you do get alee and fit these gauges, you will exist amazed at how the turbo works and what temperature the turbo can go up to.
Source: https://withoutahitch.com.au/installing-pyrometer-boost-gauge/
0 Response to "How To Set Up A Boost Gauge"
Post a Comment