

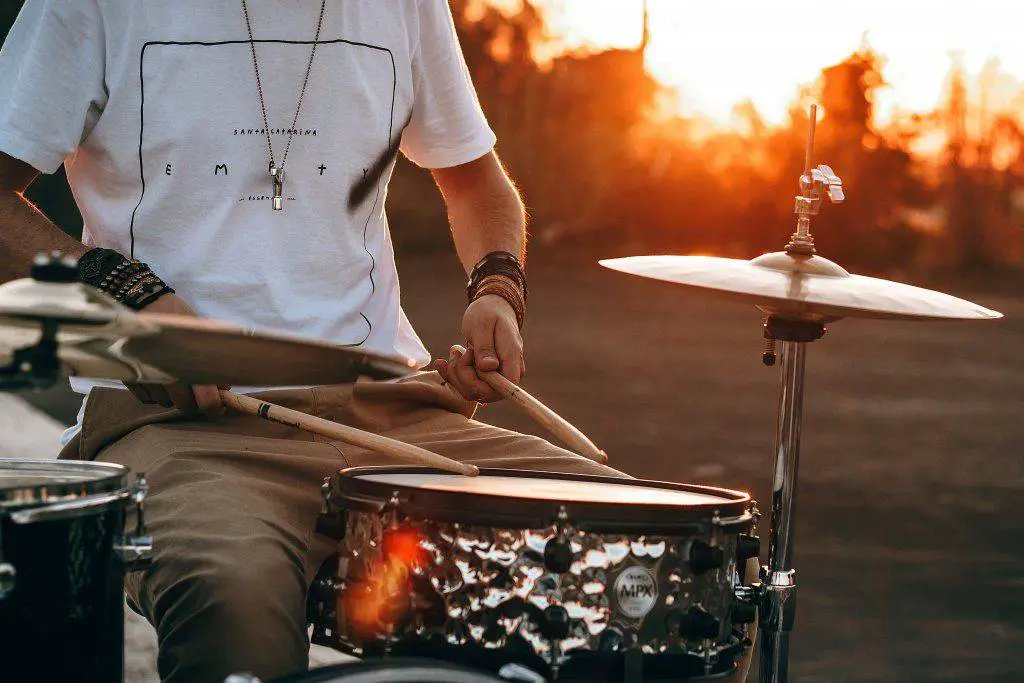
How To Set Up A Drum Kit
Updated: Nov 7th, 2022
And so yous've made the leap and gotten yourself or – fifty-fifty amend – someone else a shiny new drum kit? That's great merely before the drumming fun begins, yous all the same demand to arrange all those shells, stands, cymbals and pedals. And that tin can be confusing if yous don't know how to ready a drum set.
Non to worry, though, information technology's not difficult and after yous've washed it in one case, you'll get quicker at it every time. And I'm hither to guide you lot through the start setup procedure.
The commodity is bundled in steps and has pictures and videos supporting it, then all you accept to do is follow along equally nosotros fix your pulsate set together (at least digitally).
So permit'due south get to information technology…
(This is a gues post by Tom Warner, who is teaching drumming in Sheffield UK. You can notice out more about him at the end of this commodity.)
1. Stool
First, set up your stool upward. Ideally, you want to exist high enough that you can sit down upward straight while maintaining a relaxed posture, with your legs slanted down in front end of you lot very slightly (about v to ten degrees). Don't sit with your legs too flat, or knees higher than thighs.
I like to tell my students: ''Knees beneath thighs, your stool's the right size. Thighs below knees, adjust your seat please.''
Make certain your lower dorsum is supported and that your legs can move freely around. You tin adjust the superlative of the stool either through a sliding shaft or a threaded shaft, both stock-still in place by a fly nut at its base. Some cheaper stools volition secure with a commodities and nut and have iv holes in the shaft for various heights. (I recommend spending at to the lowest degree $50 on a drum throne as this will last – cheaper ones will almost likely need replacing after a few months use.)
Freedrum- Play the drums someday, anywhere
All-time of the Best
Best of the Best
Freedrum
If yous crave a convenient, mobile drum kit that is and Freedrum is exactly what you need. Connect using bluetooth and play on your smartphone, reckoner or tablet
FEATURES
- Sensors are super accurate
- Expert Value for Coin
- Uniform with all major music software / DAWs
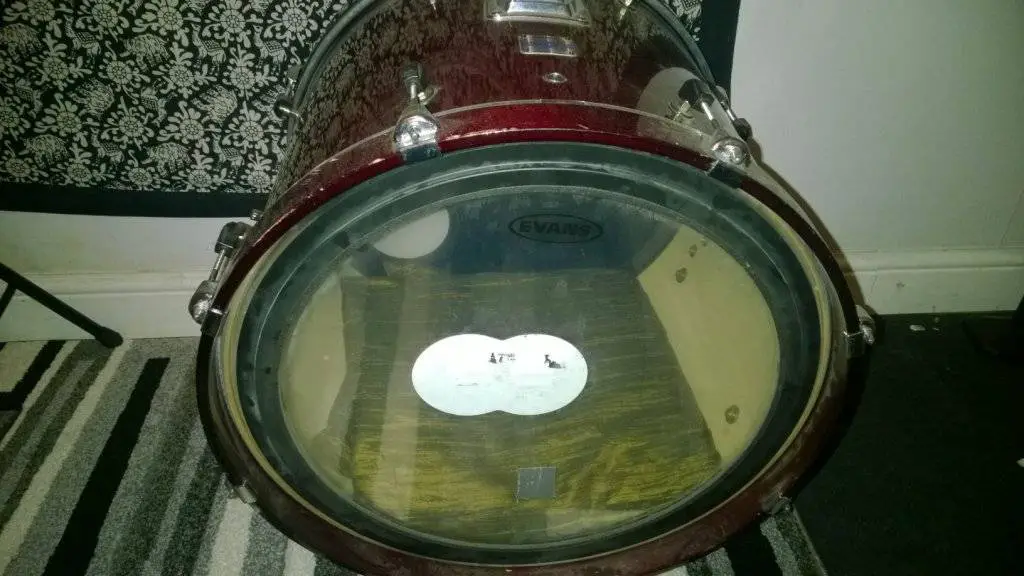
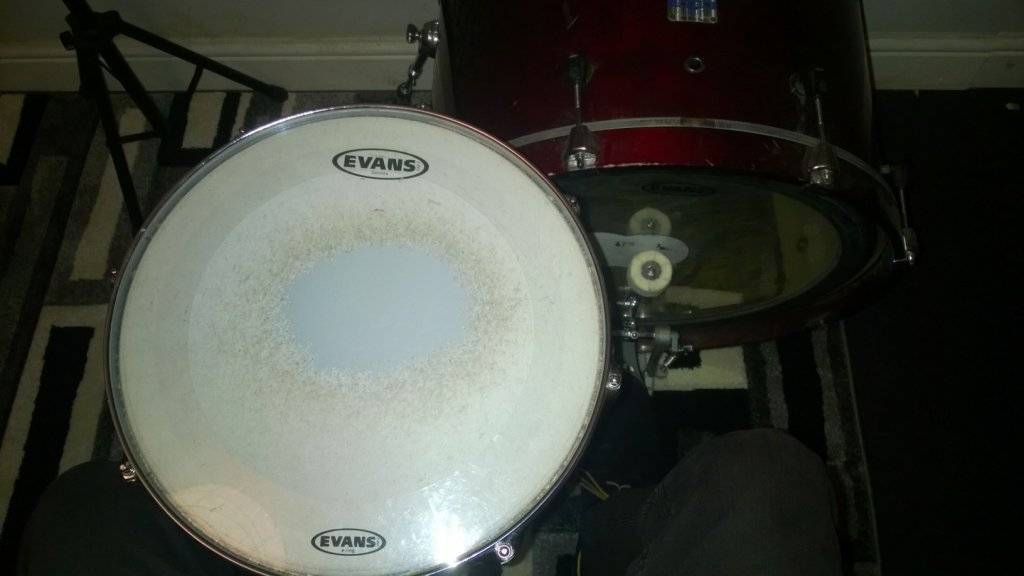
two. Kick Pulsate
Adjacent up is the centerpiece of your kit, the kicking drum. Whether y'all are right or left handed/footed will dictate where the kick goes and how information technology angles.
In that location are a couple of different angles yous can have with your kick; either directly in front of you, or slightly angled away from you lot.
Make certain that when positioning the legs, they are at a slight angle pointing abroad from you lot only non directly down or also far forward; y'all don't desire the shell resting on the floor!
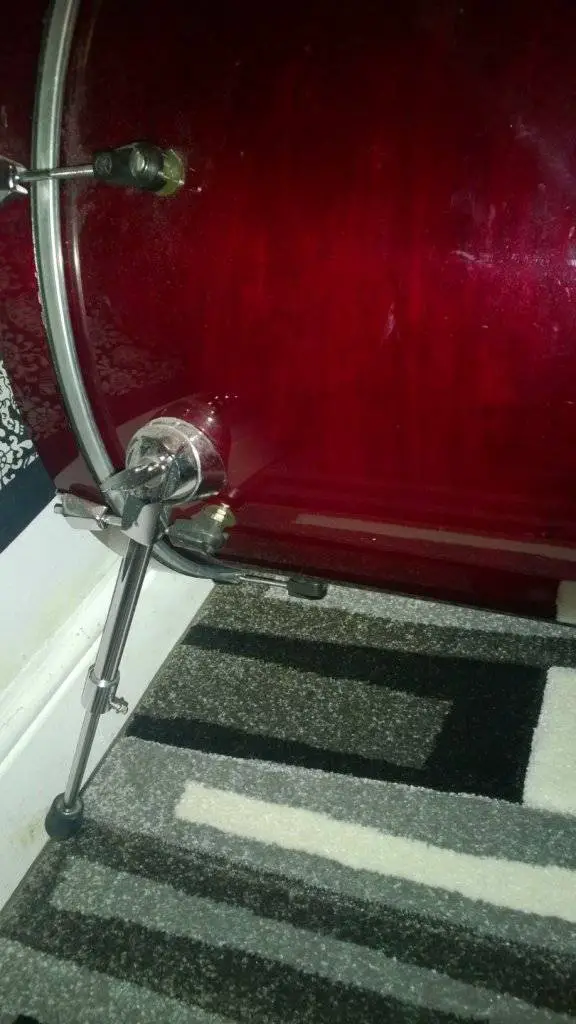
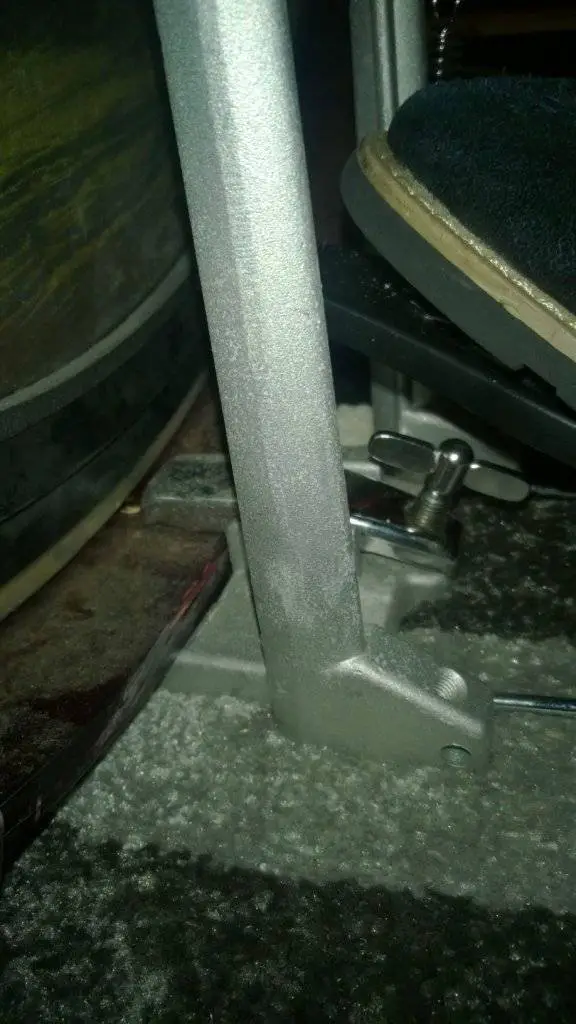
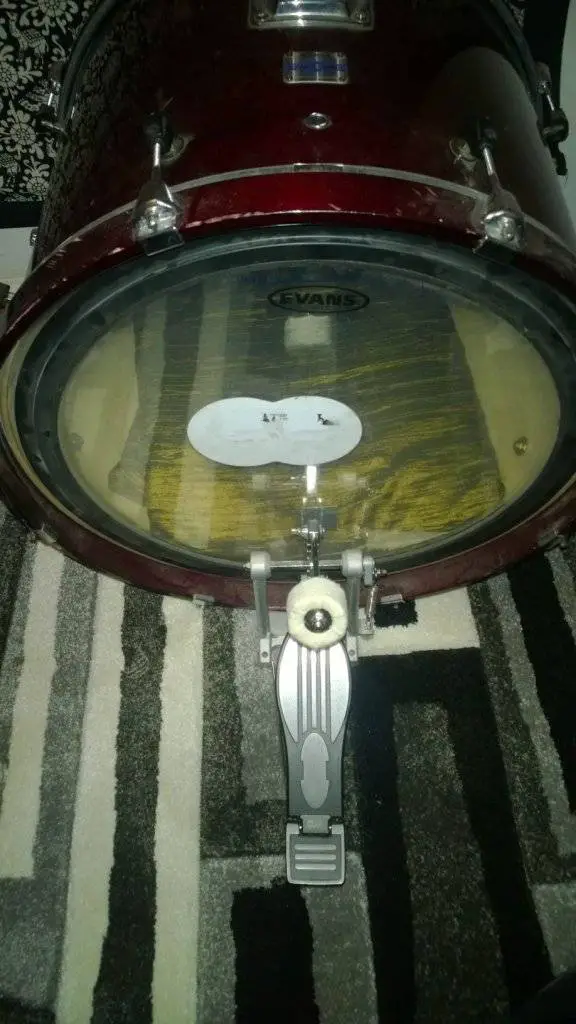
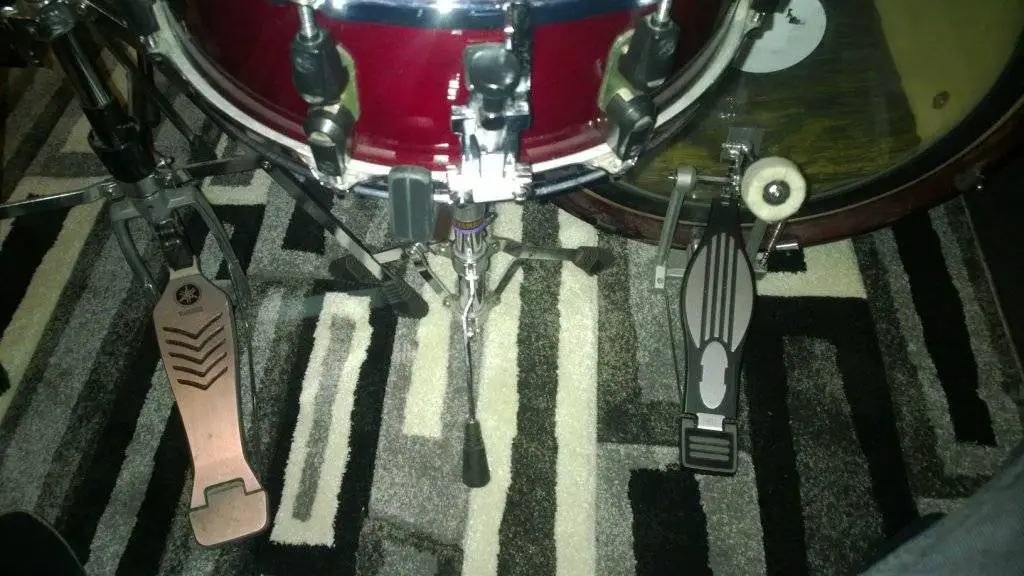
Next, attach your kick pedal (these are my favorite pedals) to the hoop. Whether it is a metal or wooden hoop, the clamp will fit, and then there are no worries about compatibility.
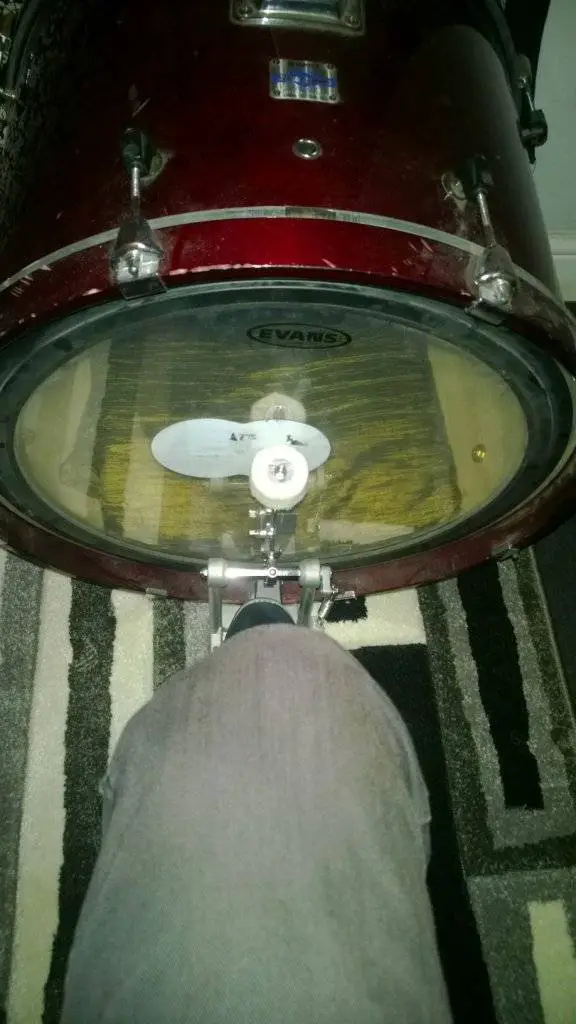
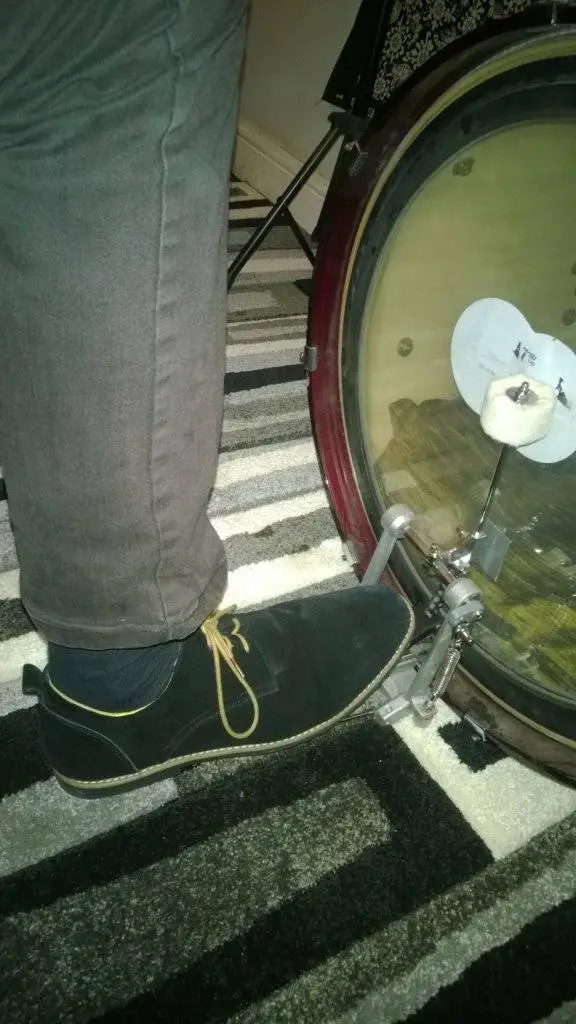
Once the pedal is on, sit at the kick and make certain you can see your toes over your knee. This is the appropriate distance for you to sit for the best control over the pedal and is also all-time for your posture.
 .
.
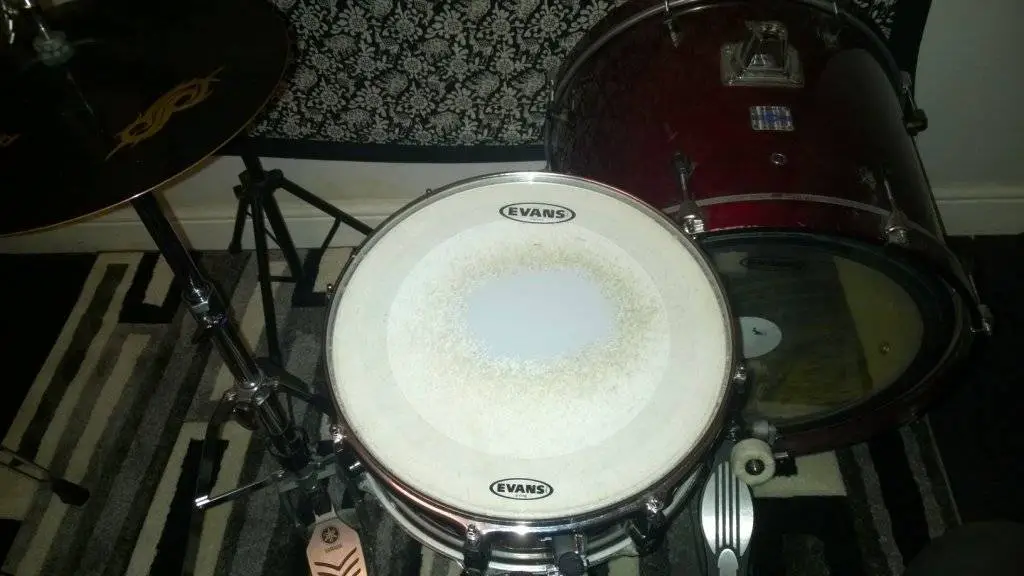
3. Snare
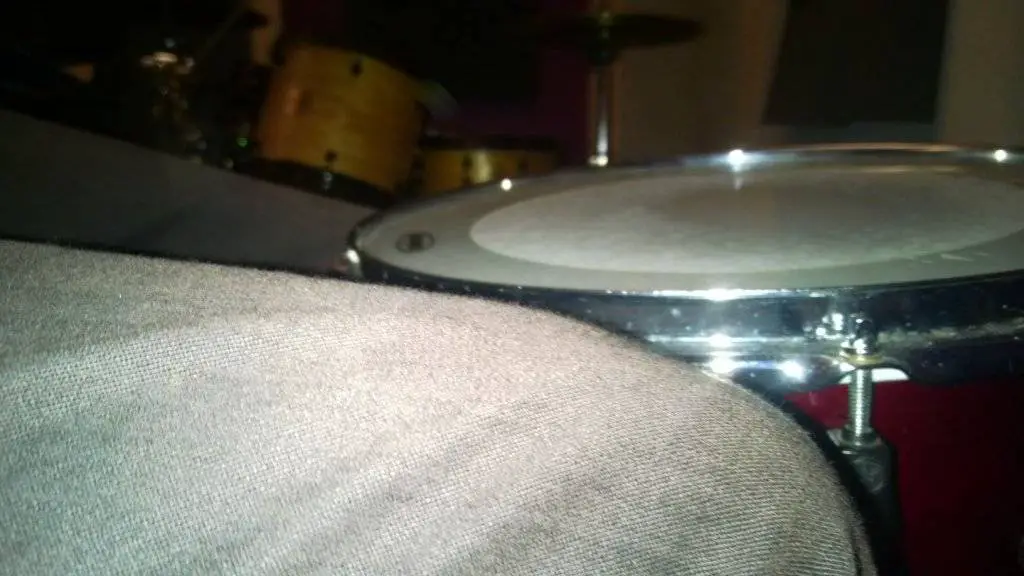
The snare (my favorites are here) should sit between your legs, to either the correct or left of the boot pedal depending on your orientation.
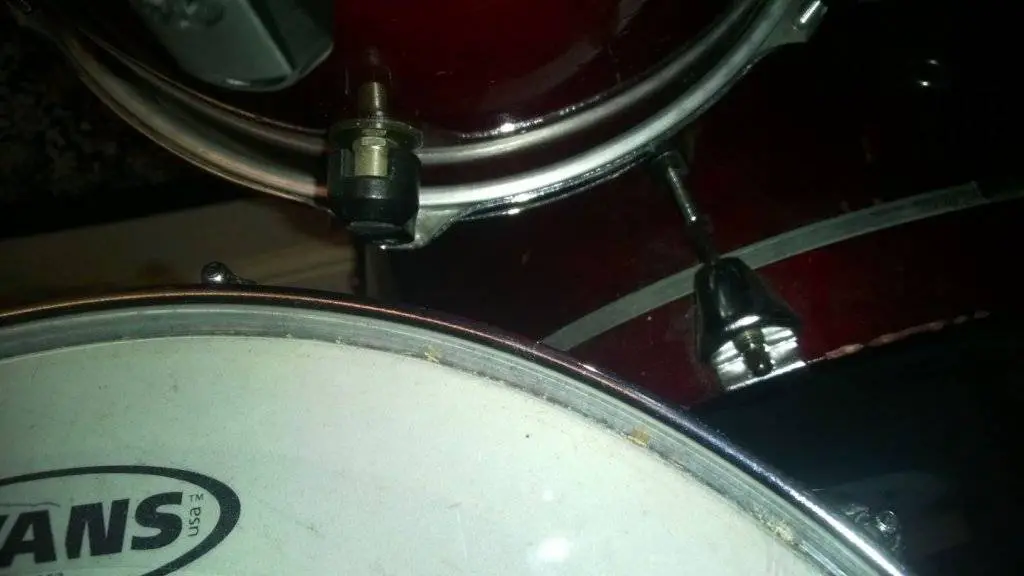
Make sure there is plenty distance between your thigh and the side of the snare; it's very annoying using the kick drum with a piece of metallic rubbing against your leg!
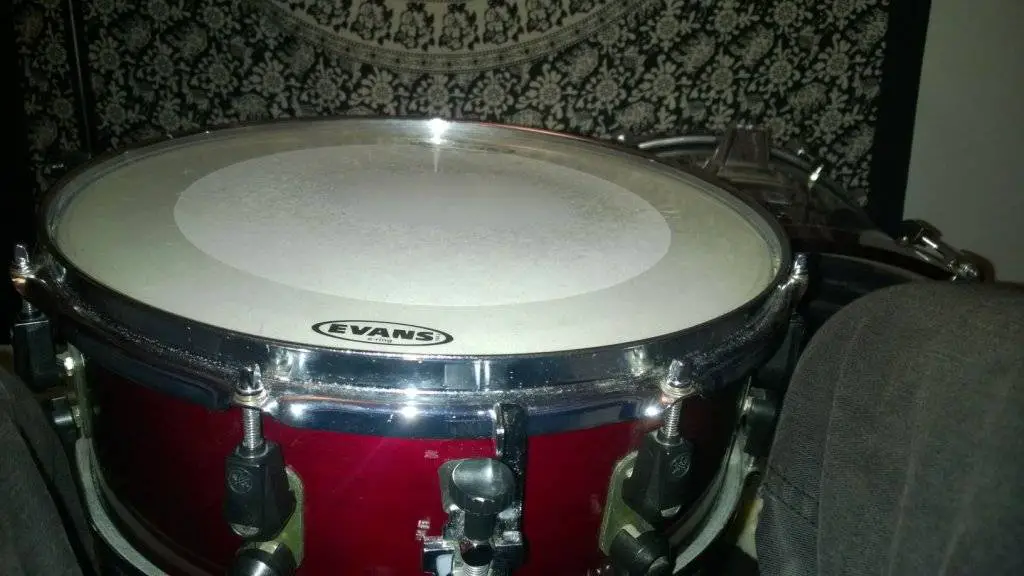
Position the snare to be shut plenty to the kick hoop without it touching only leave enough room in example the stand moves. You don't want to have your snare catching a lovely wooden hoop and causing damage either.
The bending of the snare is up to you, some people like to have it facing away from them, some like it facing towards them and some similar it to be flat. Attempt whatever of these positions and pick the ane you observe most comfortable, there are no wrong answers, simply equally long you lot are comfortable.
The height of the snare is also down to personal preference; try to make it level with your thigh meridian or about a centimetre higher. As well low and you'll smack your leg, also high and y'all'll catch the rim.
four. Hi Hat
The hi lid pedal should sit under your other pes comfortably (the pes not on the kick). Try to angle the pedal so information technology faces slightly outwards and away from you.
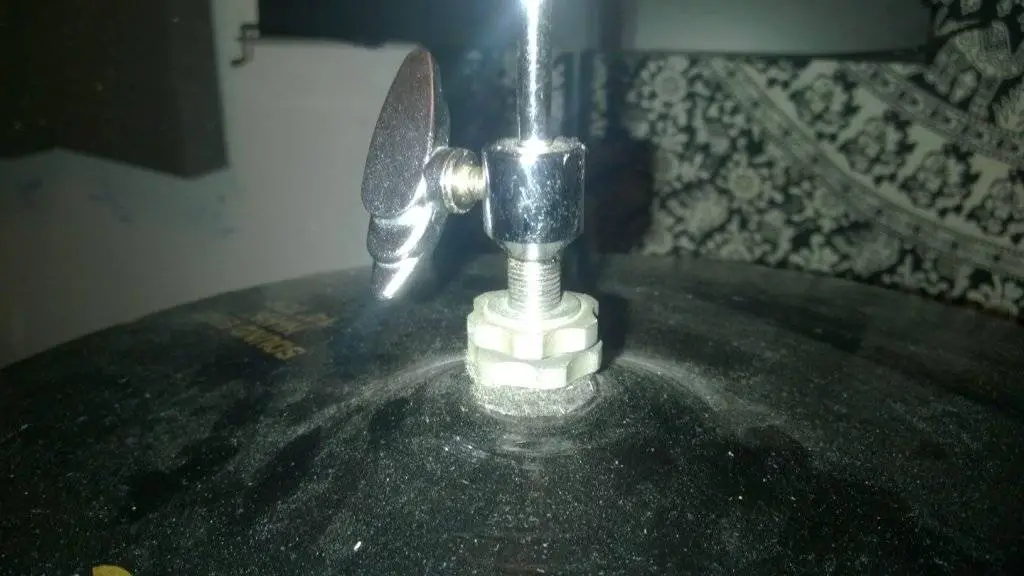
When attaching the hi hats (you guessed it – I have favorites here too) to the clutch, unscrew the get-go nut and have one felt off. The order on the thread of the clutch should be roughly: nut – felt – felt – nut.
Place the top hi hat so the convex part of the hi chapeau (called the bell) points towards the wing nut on the hi hat, and so supersede the felt and nut in that order. The hi hat should be sandwiched betwixt the two felts and held in place with the two nuts.
At present slide the clutch with the hi hat downwardly the spoke (the long, thin pole coming out of the top of your hi hat stand) and, before adjusting the clutch, make sure the height is correct for you lot.
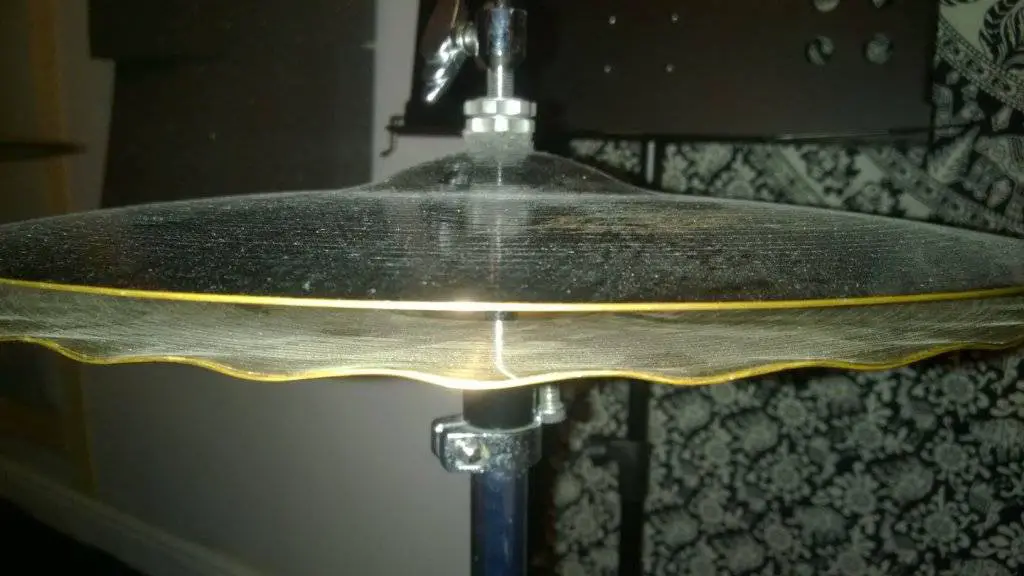
Adjust the top of the how-do-you-do hats then they are effectually 8 inches higher than the snare. This is a skilful starting position to make sure you take plenty of room to manoeuvre. Once you have a practiced tiptop, tighten the wing nut on the stand back up.
Now push your foot down on the pedal a tiny bit to drop the spoke. Tighten the clutch wing nut and release your foot. This is how you ready open how-do-you-do hats. Suit this then that the hi hats stay open by virtually one-two centimetres, or a finger tip.
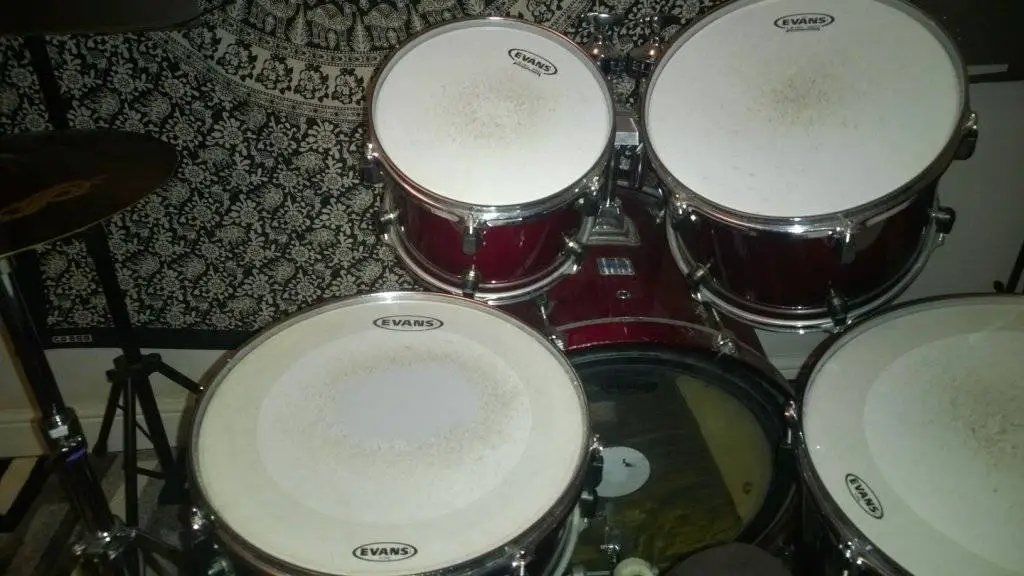
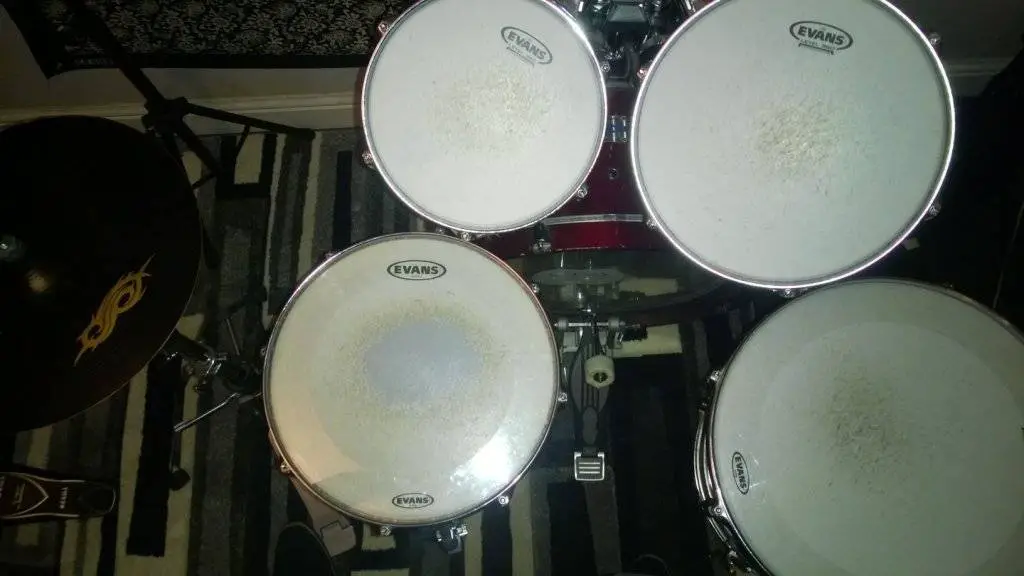
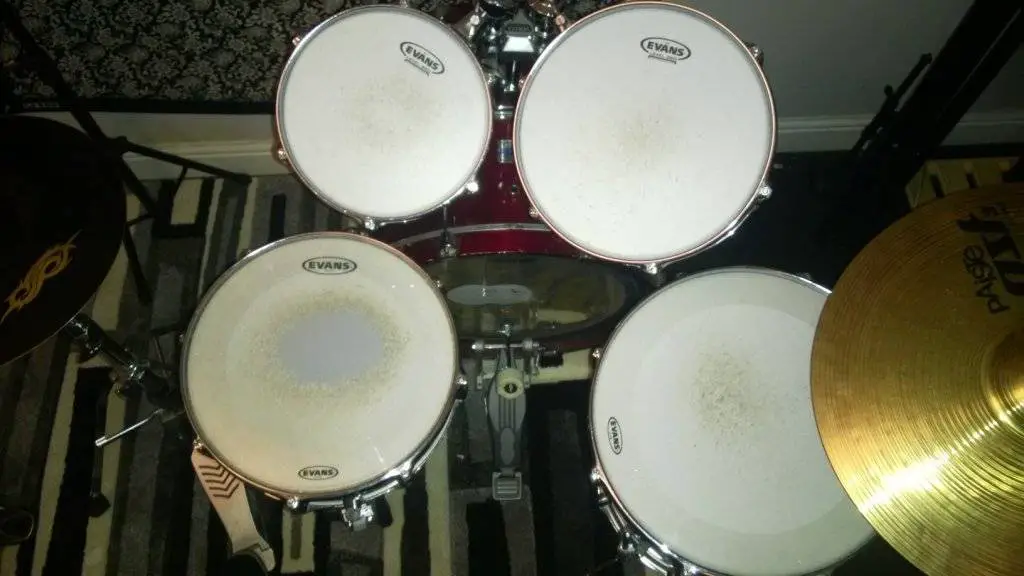
five. Toms
There are a few unlike types of toms, but the most mutual are mounted racks and free continuing.
Free standing toms will sit on a snare stand and be positioned next to the kick pulsate – simply higher and angled towards you at a steeper degree. Mounted toms volition be placed on a tom holder and rest on peak of the kick drum.
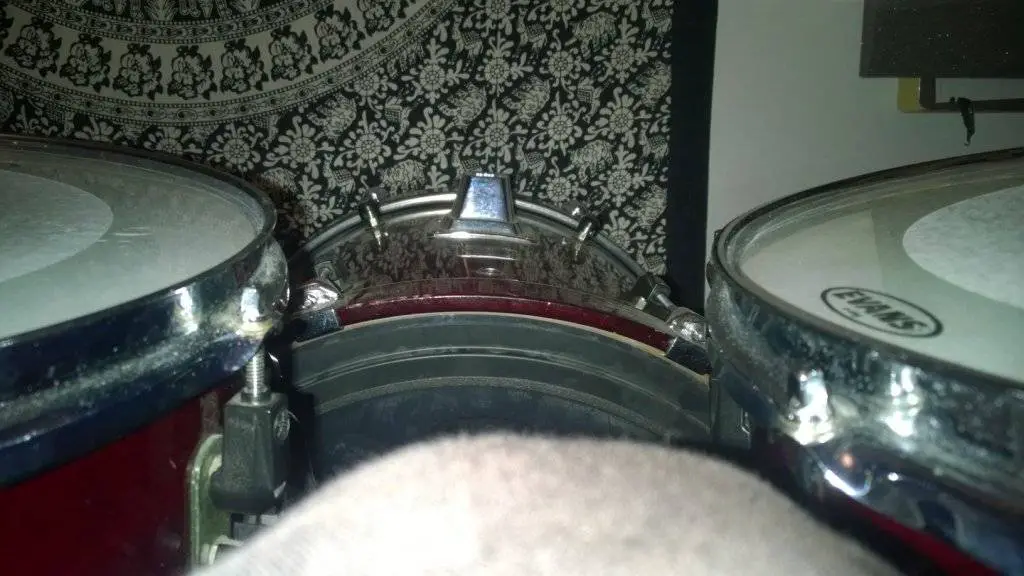
Now, the tom holder volition have either spokes for the toms to rest on, or holes for a separate tom mount to slot into. Whichever one you accept they are very like shooting fish in a barrel to ready:
Slide the tom into the tom mountain, and then the mount into the holder which rests in the boot pulsate. Tighten everything up and meet if it is comfortable. Naturally, the toms need to exist college than the snare to begin with merely bending them to make certain you lot tin't catch the rims.
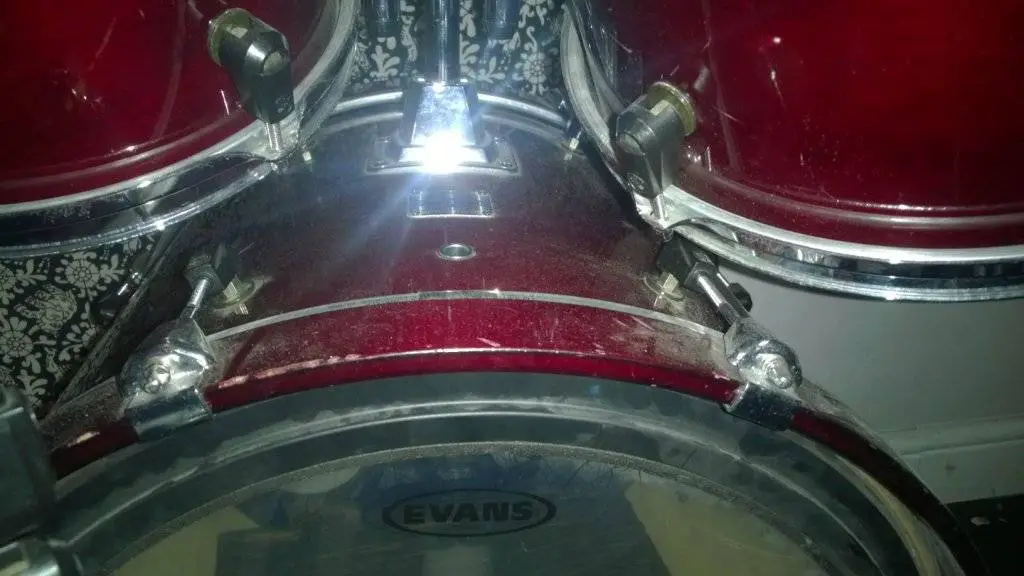
Everything on the tom mount and holder is to hold something else in place, and so have a dabble around with the wing basics and sliders to run into what each i does; this is the best way to learn. Finally, make certain your tom beat out does non hit your snare rim, so position the drums accordingly.
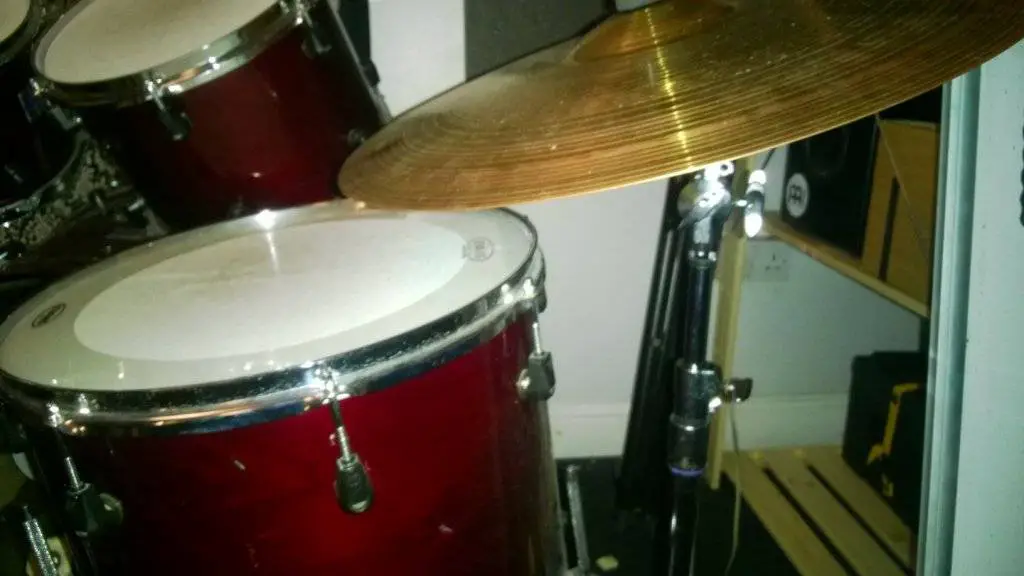
Your flooring tom may as well exist one of two types; mounted or legged. A mounted floor tom will uncomplicated take a tom mount that sits in a clamp (which may or may not need to be bought) which also clamps to a cymbal stand.
A legged flooring tom has 3 legs, that slot into three leg holders at the lesser of the shell. The feet of the legs should be pointed down from here, so the majority of the vanquish is above the legs. To adjust the meridian, but loosen the legs and lift the floor tom through them (all-time to do this one leg at a fourth dimension) and make sure they are all level.

The floor tom should be the same height as your snare. Then to angle the flooring tom, drop a single leg until information technology faces towards or away from you, whichever you prefer. Of form, you can go out it apartment, which for the sake of the tone is usually best.
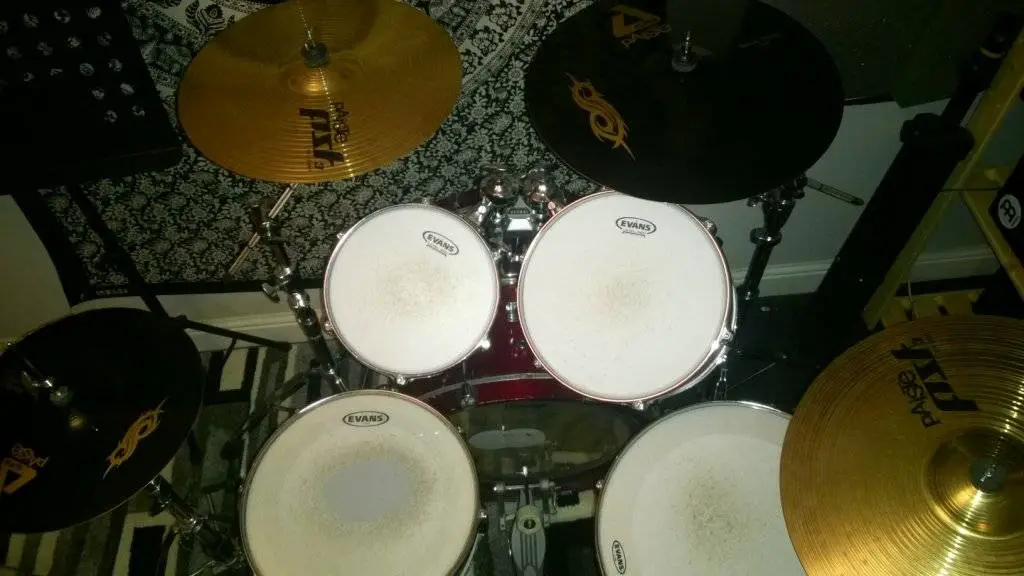
half-dozen. Cymbals
Finally, your cymbal setup is important as these can crusade the nigh obvious drummer injuries such as catching fingers and knuckles.
Set up your ride first, this will be the heaviest one. The cymbal stand will have a wing nut, then two felts, then a plastic base. Like the hi hats, the cymbals balance between the felts, bell pointed upwards, and sitting on the plastic base of operations. Tighten it up with the fly nut and position it.

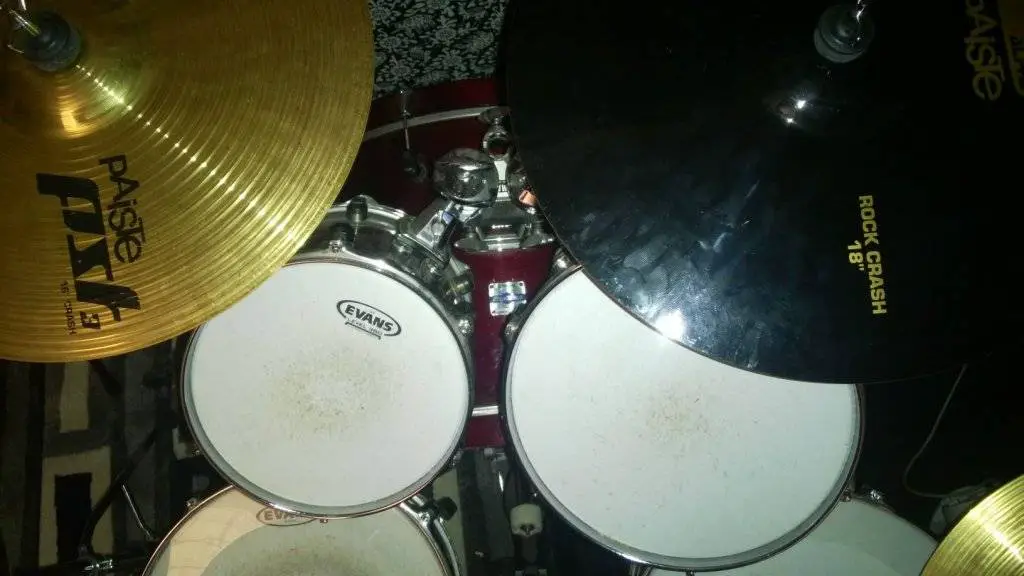
Your ride should start past going either next to your floor tom or in front of it. This is for ease of access to it. Don't permit it overhang your floor tom too much, only don't have it too far away either. Merely over the floor tom rim to start with is all-time.
You want information technology to be loftier enough to not catch the floor tom, but low enough that y'all can residual your arm by your side comfortably without holding it up to attain the elevation of the ride. Also, you may angle information technology towards you a little if y'all wish, or again, take it flat.
Your crashes will exist the highest point on the kit. Make sure they are positioned to exist at to the lowest degree a full stick height away from the centre of the toms with the stick pointing straight up, but likewise that yous can stretch your arm virtually all the way and grab them with your fingers.
Again, you are free to angle them towards you or flat. Angling them away from you is done by some professionals, only when starting out, before you've learned to transfer energy through a strike properly like they have, you can practise more damage to the cymbals this way, so try to go on them angled in or apartment.
seven. Full Kit Test
At present that the kit is set upwardly, accept a get!
If anything feels uncomfortable, readjust information technology. If you lot grab your sticks on rim, you lot may demand to angle the rims down a little more. If anything moves, tighten it up.
Maintaining your setup is easy, and often enough you don't need to do anything once you've properly tightened all your nuts and wings.
eight. Making Your Drum Kit Sound Amazing
Since the ideal setup doesn't equal platonic audio, let me end this commodity by explaining a quick and like shooting fish in a barrel style to seriously upgrade your pulsate kit's audio by nothing other than tuning it correct.
A nice and easy way to tune your kit is using your drum key and going by position, you don't even demand a musically trained ear for this.
Loosen every tension rod on the drum until information technology wobbles (if it'south a bit stiff, just make sure the rod head is no longer on the hoop). So tighten them all to be finger tight, no more or less. The rod heads should now be on the hoop but not tight.
Next, use the drum cardinal to position the tension rods then the flat caput (the fleck you're turning) of the pulsate key is angled flat against the rim. Move to the tension rod direct opposite the ane yous simply tuned, then move clockwise to the next, and beyond to the next, and and then on, in a star shape until yous have turned them all.
Now from the showtime tension rod, tighten 90 degrees at a time moving in the star design until you have a tone you lot desire. Tip: if y'all don't want too much ring, stick iii small bunched pieces of duct tape along the top of the skin, and you'll end up with zippo but tone.
Do this for every drum. The top caput is the one you will be hit. The bottom caput is known as the resonant head. This gives you the warmth and tone of the shell. To get the maximum dynamic from the vanquish, do the same for the reso caput, but tighten it two turns above your batter head (tiptop caput).
Whatsoever Questions?
So that's my accept on how to set up a pulsate set up as a beginner. Again, this may seem like a dreadfully long process initially, but I can assure you it becomes very easy once you've done it yourself in one case.
And once you're finished, information technology's time to go the best drummer yous tin can be.
Also Read:Best Shoes For Drumming
Also Read: Best Kick Drum Mics
So requite information technology a go and allow me know if you take any questions. I reply every unmarried one of them!
About Tom Warner

Tom Warner is a pulsate tutor, working in a studio in Sheffield, Southward Yorkshire. He is currently studying for a Masters in Creative Exercise, analysing the furnishings of drumming and rhythm on the brain in an endeavour to control and develop malfunctioning neurons, and potentially cure neuropsychiatric conditions. The study also involves the regeneration of tissue damage using shock moving ridge therapy generated through drumming. He also delivers high quality drum lessons to students in the surrounding areas.
Source: https://www.kickstartyourdrumming.com/how-to-set-up-a-drum-set/
0 Response to "How To Set Up A Drum Kit"
Post a Comment